How To Install Longboard Trucks – Hit The Streets With Confidence

In order to understand how longboard trucks are installed it is necessary to first know what they really are.
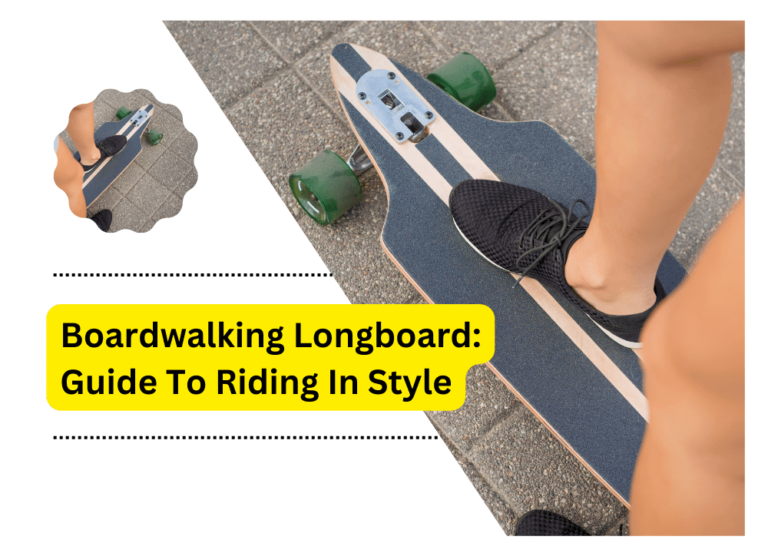
So, Longboard trucks are basically metal T-shaped components that are attached to the underside of the longboard deck and link the wheels, allowing for smooth turns and steady rides. The hanger, axle, bushings, and kingpin are all components of longboard trucks that work together to offer control and responsiveness when riding.
In today’s guide we will walk you through the process of installing longboard trucks. Understanding the process of installing is vital whether you’re a novice seeking to set up your first longboard or an experienced rider looking to customize your setup. By following the below-mentioned instructions, you will be able to properly attach your trucks and optimize the performance of your longboard.
Obtaining the Required Tools and Equipment
First, you need to gather the essential tools and equipment before beginning the installation process. The following are the goods you will require:
Mounting hardware:
This typically consists of eight bolts and nuts that secure the trucks to the deck.
Skate tool or wrench:
A tool made particularly for skating that allows you to tighten or loosen the mounting hardware and adjust your trucks.
Skateboard tool:
A skate tool is a multi-functional tool that includes functions such as a wrench, socket, and screwdriver. It is required to adjust and tighten the mounting hardware.
Hardware for installation:
This contains all of the bolts and nuts required to fasten the trucks to the deck. Choose hardware that is appropriate for your longboard deck.
Longboard deck:
The deck is the flat surface on which the trucks will be attached and is the major component of your longboard. Make sure you have the right deck for your riding style and tastes.
Phillips screwdriver:
Use this if your mounting hardware calls for Phillips’s head screws well a ruler or measuring tape is useful for assuring appropriate truck positioning and alignment.
Getting the Longboard Deck Ready For Installation
Place the longboard deck on a level and solid surface, such as the ground or a workbench. Make sure it’s upside down and the grip tape is pointing down. Check the width of the deck and make sure your vehicles are appropriate. For best performance and stability, the width of the hanger should equal the width of your deck. Locate the deck’s truck mounting holes. These are usually located towards the deck’s ends, where the trucks will be attached.
Setting up the Longboard Trucks
Align one truck with the mounting holes on the deck. Make sure the hanger is pointing out and the kingpin is facing the center of the board. Insert the mounting bolts through the holes in the truck’s deck and baseplate. If your mounting hardware contains nuts, put them on the deck’s underside. Tighten the bolts tightly using a skate tool or wrench. Make cautious not to overtighten them, since this may cause the deck to fracture or hamper the movement of the trucks. Repeat the technique for the second vehicle, making sure it is symmetrically aligned with the first.
Final Inspections and Maintenance
Check that all of the bolts and nuts are snug and securely fastened. Loose hardware might cause injuries or damage to your longboard. Rock the longboard back and forth to test it. Then check that the trucks are properly aligned and that there is no excessive play or wobbling. Later on, inspect and repair your longboard trucks on a regular basis to ensure they are in excellent working order.
Old Truck Removal
Removing outdated skateboard trucks is a simple operation that only involves a few easy steps. Here’s a step-by-step guide to help you get started:
Collect the following tools:
Make sure you have a skate tool, which is a multi-functional tool created exclusively for skateboard repair before you begin. A skate tool normally includes a kingpin socket, axle nut sockets, and a screwdriver for the mounting hardware.
Turn your skateboard around:
Begin by turning your skateboard so that the deck is facing up. This will provide you with easy access to the trucks and make the removal procedure go more smoothly.
Loosen the nuts and bolts:
Begin loosening the nuts and bolts that attach the trucks to the skateboard deck with the proper socket on your skate tool. Skateboard trucks typically feature two mounting bolts, one in the front and one in the back.
Remove the nuts and bolts:
Once the nuts and bolts are sufficiently loosened, use your skate tool or a standard wrench to remove them. Set the nuts and bolts aside in a secure location, since you may need them later if you intend to reuse them with new trucks.
Remove the trucks:
- Gently pull the trucks off the skateboard deck after removing the nuts and bolts.
- Using a skate tool to loosen and remove skateboard truck nuts and bolts is highly recommended for various reasons.
- Skate tools are made to accommodate certain sizes of nuts and bolts used on skateboards.
- This ensures a secure fit and allows for easy loosening and tightening.
- Using a standard tool, such as a wrench, may not give the same degree of comfort or precision.
- A skating tool often integrates several tasks in a small package.
- A screwdriver for adjusting hardware is usually included in addition to the sockets for the kingpin and axle bolts.
- Having all of the required equipment in one location saves time and work when maintaining a skateboard.
- Using a suitable socket-size skate tool reduces the chance of stripping or damaging the nuts and bolts during removal or installation.
- Properly fitting tools decrease the possibility of rounded edges or slippage, resulting in a smoother procedure and preserving the hardware’s integrity.
Installing the New Trucks
Locate the designated spots on your skateboard deck to begin mounting the new trucks. These arrows show where the trucks should be put. Take the truck’s baseplate and place it precisely on the designated areas. Make sure the baseplate is centered and parallel to the length of the deck.
Once the baseplate is in place, mount it to the skateboard deck. Insert the mounting bolts through the baseplate’s holes. These holes are intended to match the pre-drilled holes on the deck. Check that the bolts are tightly threaded into each hole then attach the nuts to the exposed ends of the mounting bolts once they have been installed.
Fine-Tuning and Testing of Installed Longboard Trucks
It is critical to take your skateboard for a test ride after installing new trucks or adjusting your present ones. Riding your board will provide you with personal knowledge of how the trucks operate and whether any more tweaks are required. Consider qualities such as steadiness, reactivity, and turning ability.
Skateboarding is a very individualized sport, and each rider may have distinct truck setup preferences. If you believe the vehicles are not working properly or if you have unique preferences, don’t be afraid to make changes. Experimenting with various configurations helps you to fine-tune the trucks to your riding style and comfort.
Conclusion:
Finally, whether you’re a novice or an experienced enthusiast, mounting longboard trucks is a vital skill for longboard riders. By following the steps given in this article, you can assure a thorough and secure installation of your longboard trucks, optimizing the performance and maneuverability of your board. Remember to acquire all of the essential equipment and supplies, utilize a skate tool for ease and precision, and test and fine-tune your trucks to your riding style and preferences. You’ll be able to have a smooth and comfortable longboarding session while keeping control and stability on your board with the appropriate setup.